A modern exterior can lose its impact quickly when every material transition is treated as an afterthought. The lines around a front entry, covered porch, soffit, or upper facade need to be straight, proportioned, and built to handle changing weather. Sagiper exterior cladding systems are often selected for these areas because they bring a refined, linear wood-look finish to contemporary home designs without the ongoing maintenance demands of natural wood.
For homeowners and builders, the value is not just in the panel itself. It is in the complete installation: proper substrate preparation, flashing, ventilation, trim integration, and clean coordination with siding, masonry, windows, soffits, and eavestroughs. A premium cladding material deserves the same level of planning as the rest of the exterior envelope.
Where Sagiper Exterior Cladding Systems Fit Best
Sagiper is commonly considered when a project calls for warmth and texture but the design needs a more consistent, low-maintenance finish than traditional wood can provide. Depending on the product profile and approved application, it can be used to create an accent wall, porch ceiling, soffit detail, privacy feature, or a focused section of facade cladding.
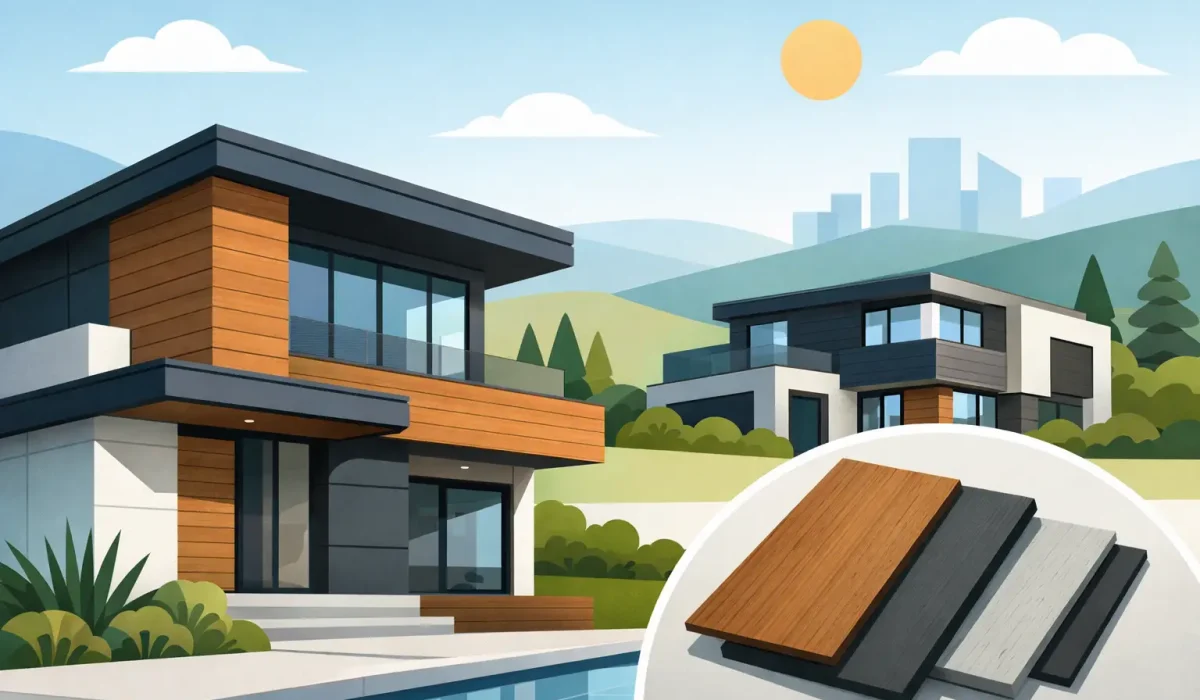
This makes it especially effective on modern and transitional homes. A vertical installation can add height to a low entry elevation. Horizontal boards can visually widen a narrow wall. On a large facade, using the material selectively around the entry or second-story volume keeps the architecture balanced rather than overly busy.
The strongest results come from using it with purpose. A cladding accent should frame an architectural feature, define a volume, or create contrast against a smoother material such as stucco, ACM panels, brick, or metal siding. Covering every surface with a wood-look profile can reduce the clean, intentional effect that homeowners are trying to achieve.
A practical option for exterior details
Exterior cladding is exposed to sun, rain, snow, wind, and major temperature swings. In the Greater Toronto Area, materials also need to perform through freeze-thaw cycles and long periods of moisture exposure. Products designed for exterior use can offer a practical alternative to stained wood in locations where regular refinishing would be difficult or costly.
That does not mean every Sagiper profile is interchangeable. Product series, color, orientation, fastening method, support spacing, and intended use must be reviewed before installation. A profile approved for a sheltered ceiling is not automatically the right choice for a fully exposed wall. This is where experienced material selection protects both the appearance and warranty of the finished work.
The Finish Depends on the Details Behind It
Cladding is highly visible, but its long-term performance depends on elements that are mostly hidden. The wall assembly must direct water out, allow the system to drain where required, and protect openings from moisture intrusion. Installing attractive panels over an unprepared surface only creates a problem that may not appear until later.
A professional cladding scope begins with the existing conditions. The installer assesses the wall plane, framing, sheathing, weather-resistive barrier, window and door flashings, transitions to roofing, and the condition of adjacent trim. On a renovation, this can reveal issues such as deteriorated fascia, missing kick-out flashing, damaged substrate, or poorly managed roof runoff.
When these issues are addressed before the finish material goes on, the result is more than a cleaner facade. It is a better-performing exterior system.
Alignment is not a cosmetic extra
Sagiper-style linear cladding shows inconsistency quickly. Slightly uneven starter lines, out-of-square corners, inconsistent board spacing, or poorly planned seams can be visible from the street. This is particularly true with dark colors and long runs across entry walls or high gables.
Layout should be established before the first panel is installed. That includes deciding where full boards should land, how edge trims will terminate, and how joints will relate to windows, doors, lights, vents, and adjacent materials. It may be worth adjusting the panel layout to avoid a narrow cut at a prominent corner or an awkward seam above the entry door.
Good workmanship also accounts for expansion and contraction where the manufacturer requires it. Panels need the correct fastening pattern and room to move within their design limits. Fastening every board too tightly may look fine on installation day, but it can lead to distortion as outdoor temperatures change.
Choosing Color, Profile, and Orientation
Color selection should start with the home rather than a sample board viewed in isolation. A warm brown wood tone may complement beige stone and black windows, while a cooler gray or charcoal profile may better suit a crisp white and metal exterior. The goal is contrast with coordination, not a collection of competing finishes.
Lighting matters as well. Covered entries, north-facing walls, and deep soffits can make a dark profile read almost black. Large south-facing elevations receive stronger sunlight and may show undertones differently throughout the day. Reviewing samples against the actual facade at different times is a practical step, especially on custom homes where finish decisions are highly visible.
Orientation changes the character of the installation. Vertical cladding generally creates a taller, more contemporary expression. Horizontal installation feels broader and can relate well to long, low rooflines. Ceiling applications often benefit from boards running toward the entrance, drawing the eye inward and giving a covered porch a more finished architectural look.
Profile depth is another consideration. A shallow, smooth profile may suit a minimal facade, while a deeper board pattern can add dimension to an otherwise flat elevation. The right choice depends on viewing distance, the scale of the wall, and how many other textures are already present.
Coordinate Cladding With Soffits, Fascia, and Drainage
A facade is not made of isolated components. The relationship between cladding, soffits, fascia, flashing, and eavestroughs determines whether the exterior looks considered or pieced together over time.
For example, a wood-look cladding feature under an overhang can pair well with a clean aluminum soffit system and matching fascia. The fascia needs to hold a straight roofline, while eavestroughs need the correct slope and outlet placement to move water away from the foundation. If roof-edge drainage is ignored, runoff can stain the cladding, damage trim, and create unnecessary moisture exposure at the wall.
This coordination is especially valuable on renovation projects. Replacing old siding without addressing failing gutters, undersized downspouts, or roof-edge flashing may leave the home looking new while the underlying water-management issue remains. A complete exterior plan avoids having to remove finished materials later to correct a preventable detail.
Common Mistakes to Avoid With Sagiper Cladding
The most common mistake is treating decorative cladding as a simple surface upgrade. It needs to be matched to the approved application and installed according to the manufacturer’s requirements. Skipping this review can affect appearance, performance, and warranty coverage.
Another issue is underestimating transitions. Exterior corners, inside corners, window returns, light fixtures, vents, and bottom terminations need a deliberate solution. Cutting around these components without proper trim, flashing, or blocking can leave gaps that collect debris or permit water behind the cladding.
Finally, do not choose material only from a showroom sample. Consider the wall exposure, roof overhang, surrounding colors, maintenance expectations, and the home’s broader architectural style. A capable contractor can help narrow the options before material is ordered, preventing costly changes after installation has begun.
A Better Process for a Lasting Exterior Upgrade
For a custom home or renovation, start with the full elevation rather than one accent wall. Determine how Sagiper cladding will connect to the roofline, windows, doors, masonry, soffits, and drainage system. Then confirm the selected profile is suitable for the intended exterior application and establish a layout that respects the building’s proportions.
At Alu-Pro Exteriors, this approach supports a finished exterior that is both visually precise and prepared for real weather conditions. Material supply, installation, repair work, and roofline components can be coordinated as one scope instead of divided among disconnected trades.
The right cladding feature should still look intentional years after the project is complete. Choose a system that fits the architecture, insist on proper water-management details behind it, and give the installation the level of craftsmanship that a highly visible exterior deserves.